
Last updated November 22, 2026
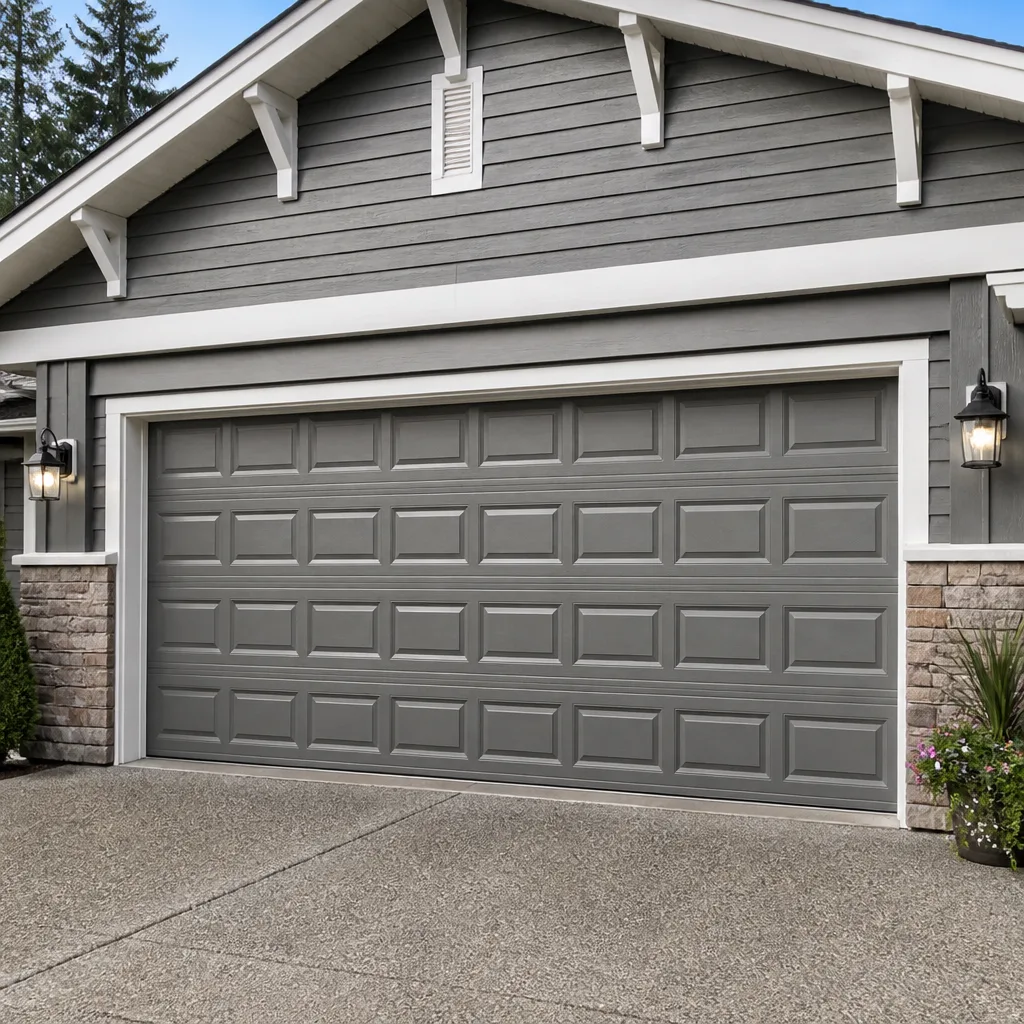 Raised-panel steel
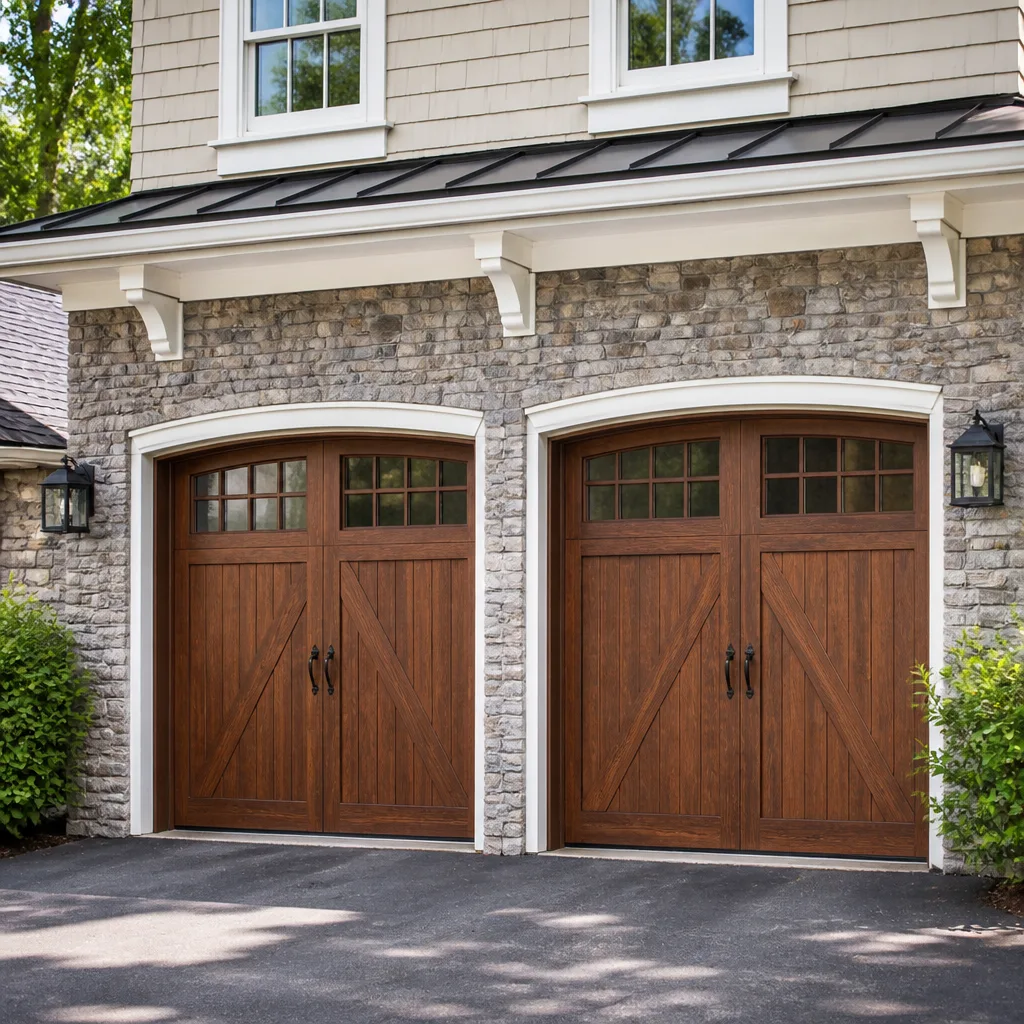 Carriage house
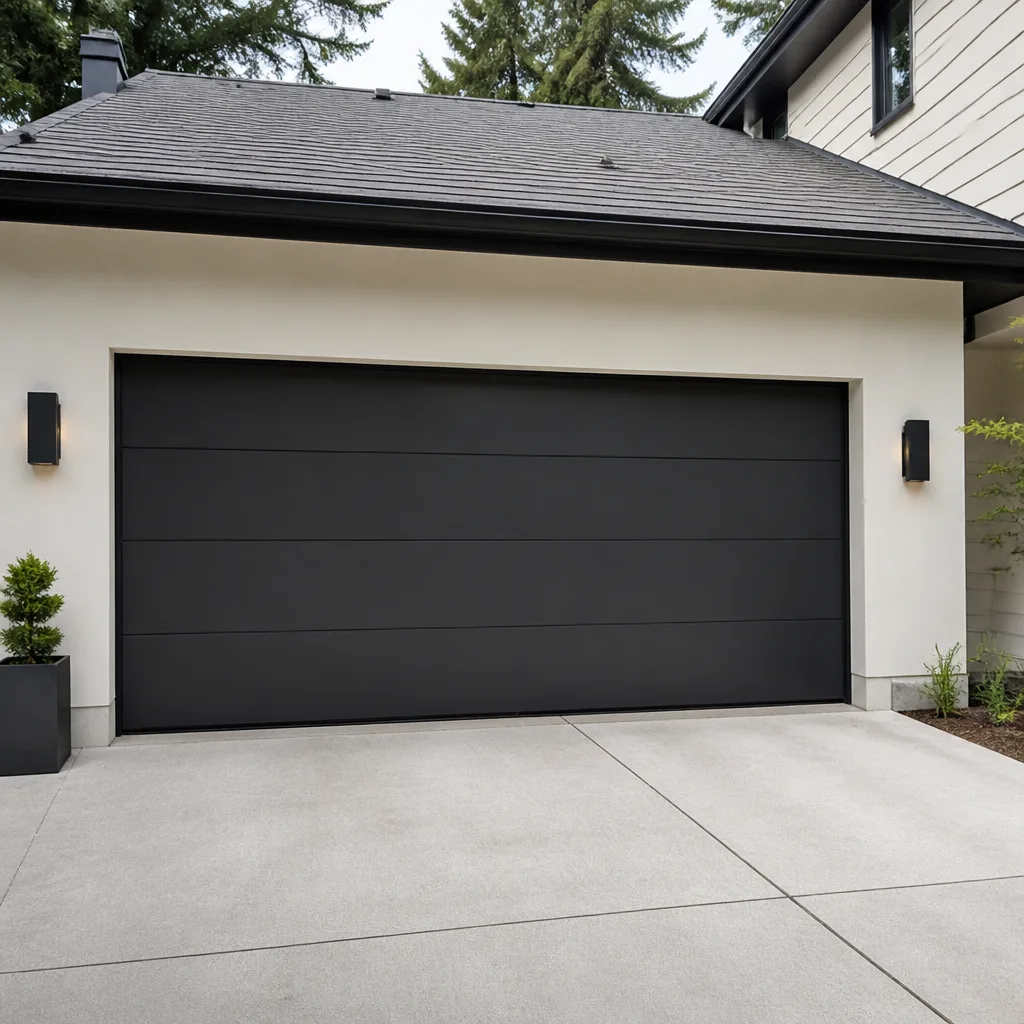 Modern flush
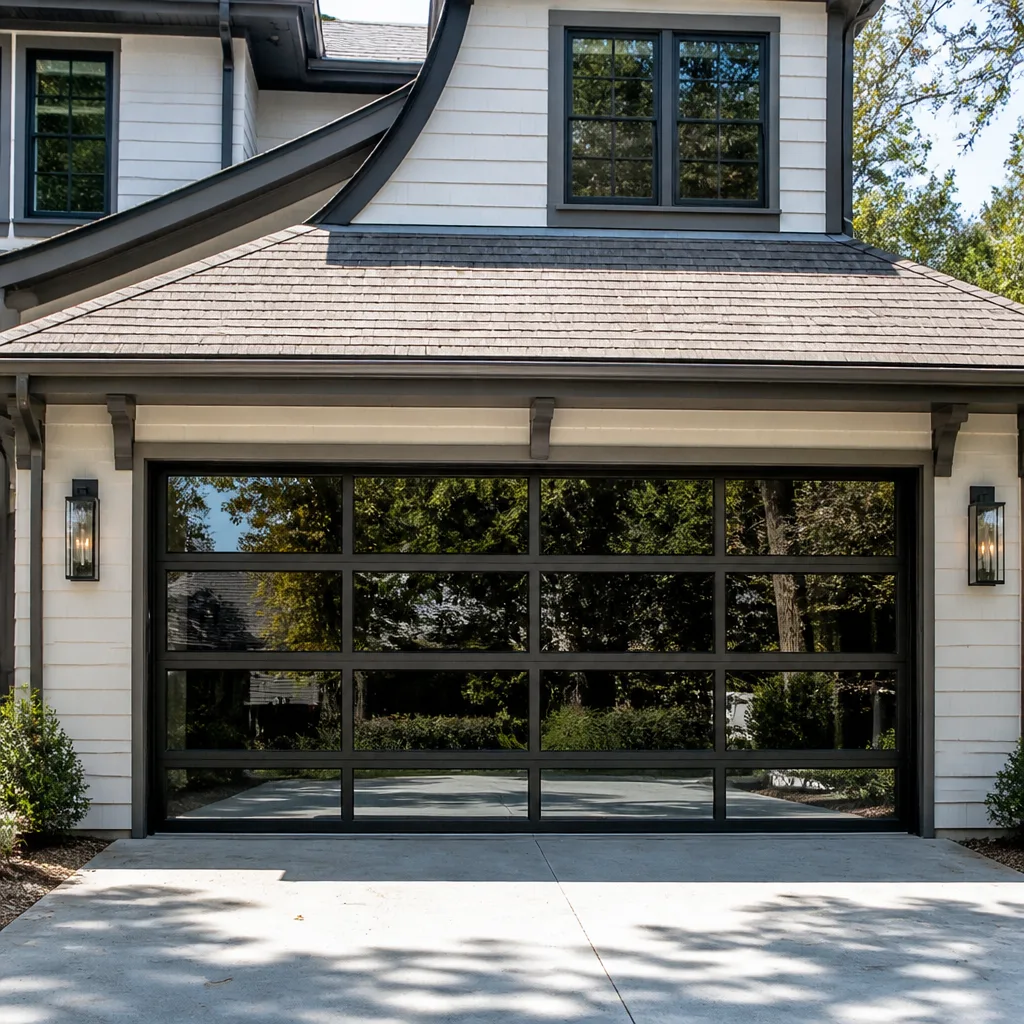 Full-view glass
 LiftMaster openers
 Chamberlain openers
Full 25-point door and opener safety check with every visit - springs, cables, rollers, tracks, and your LiftMaster or Chamberlain opener included
You get a price before we start. It does not change when the pro arrives.
Get your free estimateGarage Door Repair Maintenance Checklist for Green Valley Ranch Homeowners
The number one cause of avoidable garage door service calls isn’t neglect. It’s lubrication with the wrong product. Spraying WD-40 on torsion springs is one of the most common mistakes our technicians find on doors around Green Valley Ranch, and it does the opposite of what homeowners hope: it strips whatever light protection the coils had and accelerates corrosion rather than preventing it. Most garages here see wide swings between summer heat and winter cold, and that cycle punishes every moving part. What follows is a maintenance checklist sequenced around the components that actually fail first in Colorado’s high-desert climate, with the specific products each part needs and the two-minute tests that catch wear before it becomes a breakdown.
Quick Answer
A garage door in Green Valley Ranch needs about fifteen minutes of owner maintenance twice a year: lubricate springs, hinges, and rollers with a lithium- or silicone-based garage door lubricant, check the balance of the door, test the photo-eye safety reverse, inspect the bottom weatherstripping, and look at the cables for fraying. Do the heavier lubrication and seal checkin before the first hard freeze in fall, and inspect UV damage and weatherstripping again coming out of summer. Leave spring replacement, cable work, and torque adjustments to a trained technician.
Styles & brands we work with
- Raised-panel steel
- Carriage house
- Modern flush
- Full-view glass
- LiftMaster openers
- Chamberlain openers
Table of Contents
- Why a Timed Checklist Beats a Manufacturer Schedule
- Which Lubricants to Use on Springs, Hinges, Rollers, and Tracks
- The 10-Second Balance Test and the 6-Inch Drop Test
- Seasonal Timing: Before the First Freeze vs. After Summer UV
- Inspecting and Replacing Bottom Weatherstripping
- Cable Fraying: What Signals 30-Day vs. Immediate Replacement
- Opener and Safety Sensor Checks
- Matching the Right Part to Your Door Brand
Why a Timed Checklist Beats a Manufacturer Schedule
A generic door schedule usually says “lubricate twice yearly and test monthly.” That’s true everywhere, which makes it useless in a specific place. The doors we see around Green Valley Ranch live in a climate that alternates 95-degree summer afternoons with sub-freezing winter nights, and that temperature swing is what determines which part wears out. Metal expands and contracts, grease thickens in the cold, weatherstripping hardens, and wood-composite panels dry out faster than they would in a humid region.
The checklist below follows failure order, not calendar order. Torsion springs and cables fail first because they carry the whole weight of the door. Hinges and rollers wear next, then the weather seal at the bottom of the door, then the opener gears and sensors. Sequencing around that order means you spend your time on the parts most likely to break, not the parts a manufacturer happened to put in alphabetical order.
That sequencing also helps you know when it’s time for the bigger conversations. A door that’s been lubricated, balanced, and sealed can often be repaired for years. A door that’s been ignored often needs a full garage door installation rather than a tune-up, because the panels and hardware are too far gone. The difference between those two outcomes is maintenance timing.
Which Lubricants to Use on Springs, Hinges, Rollers, and Tracks
The single most expensive mistake we see is a homeowner grabbing a can of general-purpose spray and coating every moving part. WD-40 is a penetration oil, not a lubricant, and it’s the wrong product for a torsion spring. It also creeps onto rollers and tracks, where it attracts grit and gums up plastic bearings. It can damage the rubber seals on rollers and weatherstripping, and it dries out weather seals that are already hitting their limit. Leave it in the toolbox.
Here’s the breakdown of which product goes where:
- Torsion springs: a garage door spring lubricant or a silicone- or lithium-based spray. Never use grease on the coils – it traps dust and grit, and grit in a spring is what wears through the coils.
- Hinges: a lightweight lithium grease or a dedicated hinge lubricant. A few drops per hinge pivot point is plenty.
- Rollers: silicone spray only on metal rollers. If your rollers have plastic bearings, keep the silicone light or skip it – the rollers are meant to run dry.
- Tracks: clean with a dry cloth, not lubricant. Tracks should be dry. If they’re squeaking because they’re dirty, clean them, don’t grease them. Grease in a track becomes a magnet for hair and grit.
- Torque tube and center bearing: a small amount of lithium grease, sparingly.
Two products to keep away from the door entirely: WD-40 as a spring treatment (as above), and anything labeled as a “white lithium spray” applied to weatherstripping or rubber seals. Both degrade rubber. In Green Valley Ranch, where summer heat already stresses seals, a greased seal fails weeks earlier than a dry one.
The 10-Second Balance Test and the 6-Inch Drop Test
Two tests catch most spring and opener problems before they become failures, and both take about half a minute once you know what you’re doing. Run them every time you think about the door, and certainly in fall and again in spring.
The 10-second balance test checks whether the torsion springs are still doing their share of the lifting. Here’s how:
- Disconnect the opener using the emergency pull cord. The door should be fully closed first.
- Lift the door by hand to the halfway point.
- Let go. A healthy door stays put within a foot or so. A door that sags to the floor has a spring that’s lost tension. A door that shoots up by itself has too much tension.
- Reconnect the opener and note the result. Note the result and write it on a calendar if it’s off.
The 6-inch drop test catches the opposite problem – a door that’s too loose and may be stressing the opener. Here’s how:
- With the door in the half-open position, raise it three to six inches.
- Release. The door should close back to the halfway point on its own, not stay where you raised it.
- If the door stays up or rises further, the springs are over-tensioned and the opener is working harder than it should.
Either test failing is a sign to book a professional look, not to adjust the springs yourself. A torsion spring under load stores enough energy to break bones – leave the torque adjustment to a trained technician. We handle that through Garage Door Repair Green Valley Ranch as a standard service call.
Seasonal Timing: Before the First Freeze vs. After Summer UV
The right moment to do each task depends on where you are in the year. Green Valley Ranch sits at high altitude and its summers bring intense UV exposure while its winters deliver hard freezes. Those two forces attack different components.
Before the first hard freeze (fall):
- Lubricate springs, hinges, and rollers. Cold thickens grease, so a door that runs fine in June can grind in December.
- Test door balance – the torsion spring is under the highest load in cold weather, and a worn spring often fails on the first cold morning.
- Check the weatherstripping at the bottom of the door for cracks. Cold air intrusion into an attached garage affects the rooms above it.
- Inspect the opener chain or belt tension. Cold shrinks metal and loosens chains.
- Clear snow and ice from the track channel before the first storm, so the door has room to travel.
Coming out of summer (early fall is fine):
- Inspect the weatherstripping and vinyl seals for UV cracking. Sun exposure on the south and west faces of the door accelerates seal failure more than cold does.
- Look at the paint or finish on steel doors – UV bleaches and microcracks finish, which lets moisture in.
- Check plastic and rubber roller condition – plastic rollers dry out faster in high heat.
- Test the photo-eye sensors – direct sun on one sensor is a common cause of a door that won’t close on a summer afternoon.
The takeaway: the heavy lubrication and weatherstripping work happens in fall, right before the first hard freeze. The UV and finish checks happen right after summer. Between those two windows, a monthly visual scan and the balance test cover you.
Inspecting and Replacing Bottom Weatherstripping
The bottom weather seal is the one piece of the door that keeps outside air out of your living space. In an attached garage, a worn seal lets cold air under the door, which drags down the temperature of any room above or beside the garage. It also lets in dust, insects, and moisture that a healthy seal would block. The seal is cheap and easy to inspect – and it’s one of the few maintenance jobs a homeowner can fully handle alone.
Run this inspection twice a year:
- Close the door and look at the seal from inside the garage. Any light visible along the bottom means the seal isn’t making contact.
- Run a hand along the bottom edge. Feel for cracks, hardening, or gaps. A seal that’s gone rigid from UV exposure has reached the end of its life even if it looks intact.
- Look at the aluminum retainer that holds the seal. Rust or separation means the retainer needs replacing too, and that’s a job to hand to a pro.
- Replace the seal if it’s cracked, brittle, or making poor contact. Seal replacement is straightforward with the right part, but the retainer and door brand must match.
In Green Valley Ranch, a seal that survives one summer and one winter is often all you get. Plan on replacing it every few years, or sooner if the door faces direct afternoon sun. The rest of the door’s rubber parts – the hinges’ nylon bushings and the roller bearings – wear on the same schedule. If you’re seeing several seals and bearings fail together, it’s usually faster to have a technician do a full assembly check.
Cable Fraying: What Signals 30-Day vs. Immediate Replacement
Lift cables are the second-most dangerous part of a garage door, right behind the torsion springs. They carry the tension of the whole door, and a frayed cable that snaps under load can whip across the garage. The good news: cables give you warning if you know where to look. The bad news: most homeowners don’t know where to look.
The checkpoints to look at twice a year:
- Along the length of each cable: run a gloved hand along the cable, looking for broken strands sticking out like a wire brush. A single broken strand is a warning; several broken strands together mean the cable needs replacing now.
- At the drum: where the cable wraps around the drum at the top of the door, look for uneven winding or a cable that’s jumped the groove.
- At the bottom bracket: the point where the cable connects to the bottom of the door. Rust and fraying here are common after a few seasons of freeze-thaw.
- At the turnbuckle and anchor plate: look for looseness, rust, or a cable that’s visibly out of tension.
The 30-day vs. immediate call:
Schedule cable replacement within 30 days if you see a single broken strand, mild surface rust on the cable, or a cable running slightly off the drum. Stop using the door and call a professional today if you see several broken strands together, a cable that’s come off the drum, a visibly slack cable, or any cable with a kink. Kinked cables fail faster than any other damage.
Cable work is not a homeowner job. Both cables are under load, and releasing that load incorrectly can cause serious injury. Our team handles cable wear alongside garage door repair and can replace both cables in one visit.
Opener and Safety Sensor Checks
The opener is the part of the system homeowners notice first, because a noisy opener or a door that reverses unexpectedly is impossible to ignore. Most opener calls we get around Green Valley Ranch could be avoided with two simple checks.
Safety sensor check: press the wall button to close the door and pass a hand through the photo-eye beam. The door should reverse. If it doesn’t, the sensors are misaligned, dirty, or blocked. Clean the lenses with a soft cloth first – a spider web or a splash of dust is the most common cause. If the door still doesn’t reverse, the sensor alignment or wiring needs attention.
Sun interference check: if the door sometimes refuses to close on a bright afternoon, direct sun is hitting the sensor. A small shade or repositioning of the sensor usually solves it. This is a common problem on doors facing east or west, and it’s one an opener repair visit can resolve in minutes.
Force and travel settings: the opener has a “force” setting that controls how hard it pushes. If your door has started reversing without an obvious obstruction, the force setting may be too low for the current weight of the door. Don’t crank it up – that stresses the opener and masks a door that’s out of balance. Adjust the door first, then reset the opener.
Noise: a grinding opener usually means a worn gear or chain, and squealing at the opener head often points to the drive gear. These are worth a look from a pro before they turn into a stripped gear – the work falls under garage door opener repair. If the opener is more than ten years old and the door also needs work, it’s worth talking about a full system replacement.
Matching the Right Part to Your Door Brand
Garage doors aren’t standardized. A bottom seal, a center hinge, or a drum from one brand rarely fits another, and a part that looks similar on the shelf may not sit right on the door. That’s why a maintenance checklist only works if you know your door’s brand and can find a pro who knows how to work with it.
We’re qualified to service and repair products from LiftMaster, Chamberlain, Genie, Clopay, Amarr, Wayne Dalton, Craftsman, and Raynor. That range matters because it means we can often identify the exact part a specific door needs without guesswork – a Clopay seal, an Amarr end stile, or a Chamberlain opener gear, to take a few examples. It also means we’re not locked into a single product line, so recommendations are driven by what you already own and what you want to spend.
To find your brand quickly:
- Open the door and look for a sticker on the inside of the bottom panel or on the end stile. Most doors have a manufacturer label there.
- Look on the opener head for the brand and model number. LiftMaster, Chamberlain, Genie, and Craftsman are the most common openers we see locally.
- If no label exists, photograph the hinges, the bottom seal, and the opener head. A pro can identify the brand from the hardware style in most cases.
Having parts available matters more in the high-desert climate than it might elsewhere. When a spring, cable, or roller fails in a cold snap, the difference between a same-week fix and a two-week wait is whether the right part is on hand. Knowing the brand is the first step toward that.
Common Mistakes to Avoid
- Spraying WD-40 on the torsion springs. It’s a common shortcut and it backfires – it strips protection and attracts grit. Use a spring-specific lubricant.
- Greasing the tracks. Feels like maintenance, isn’t. Tracks should be dry. Grease in the track collects dust, hair, and grit.
- Adjusting spring tension without training. Torsion springs are under enough stored energy to seriously hurt someone. A trained technician should do the torque adjustment. This is not a job for YouTube.
- Replacing one spring when both are due. When a matched pair of springs is replaced, it’s done together. Replacing one and leaving the other means the older spring fails weeks later and you pay for a second visit. A pair costs roughly twice the cost of a single spring, but the door is set up correctly.
- Ignoring a single broken cable strand. A warning gives you time. A broken cable at speed doesn’t. Book the repair before the strand becomes a failure.
- Skipping the fall lubrication. Doors around Green Valley Ranch freeze in the cold months, and a dry spring is what causes a door to fail on the coldest morning of the year.
- Buying a “universal” bottom seal from a big-box store. It rarely matches the retainer slot, and the seal that’s slightly off the door leaves a gap you’ll notice in winter.
See the difference
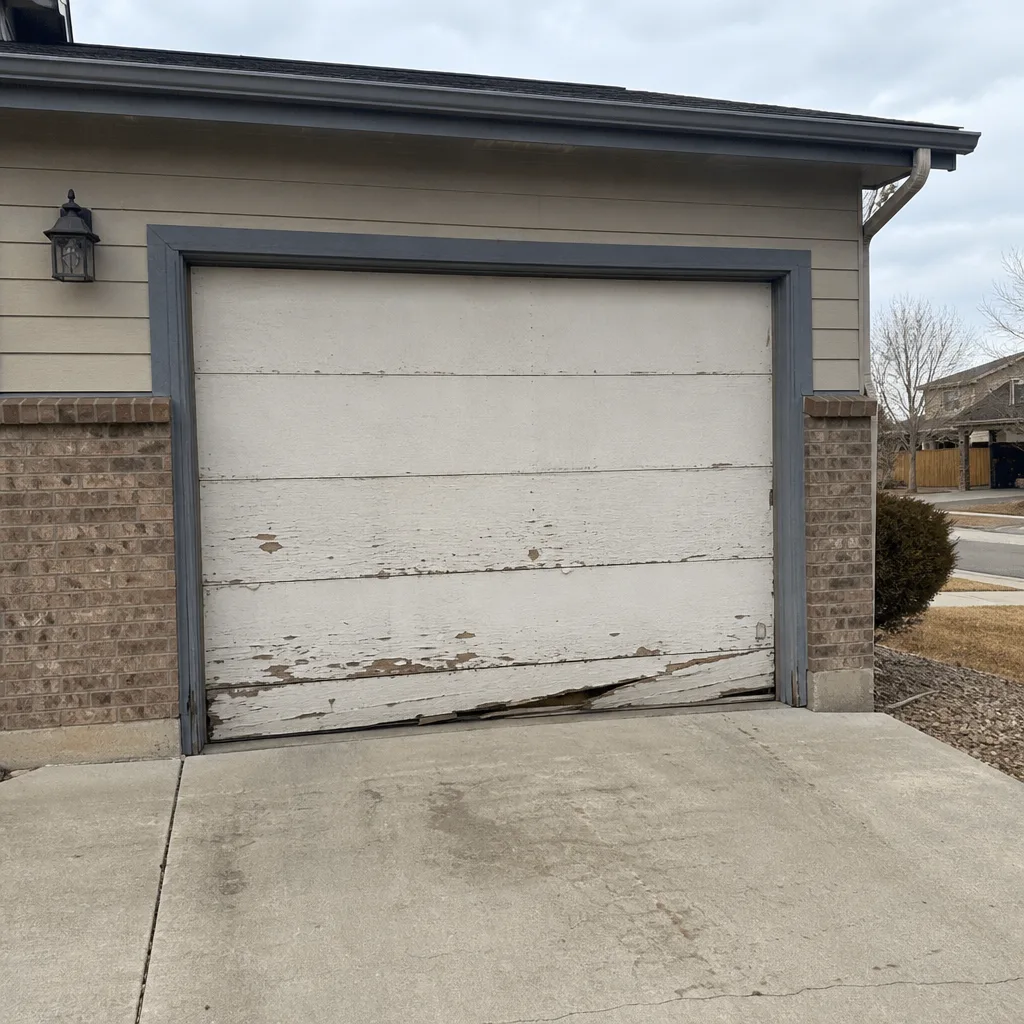 Before
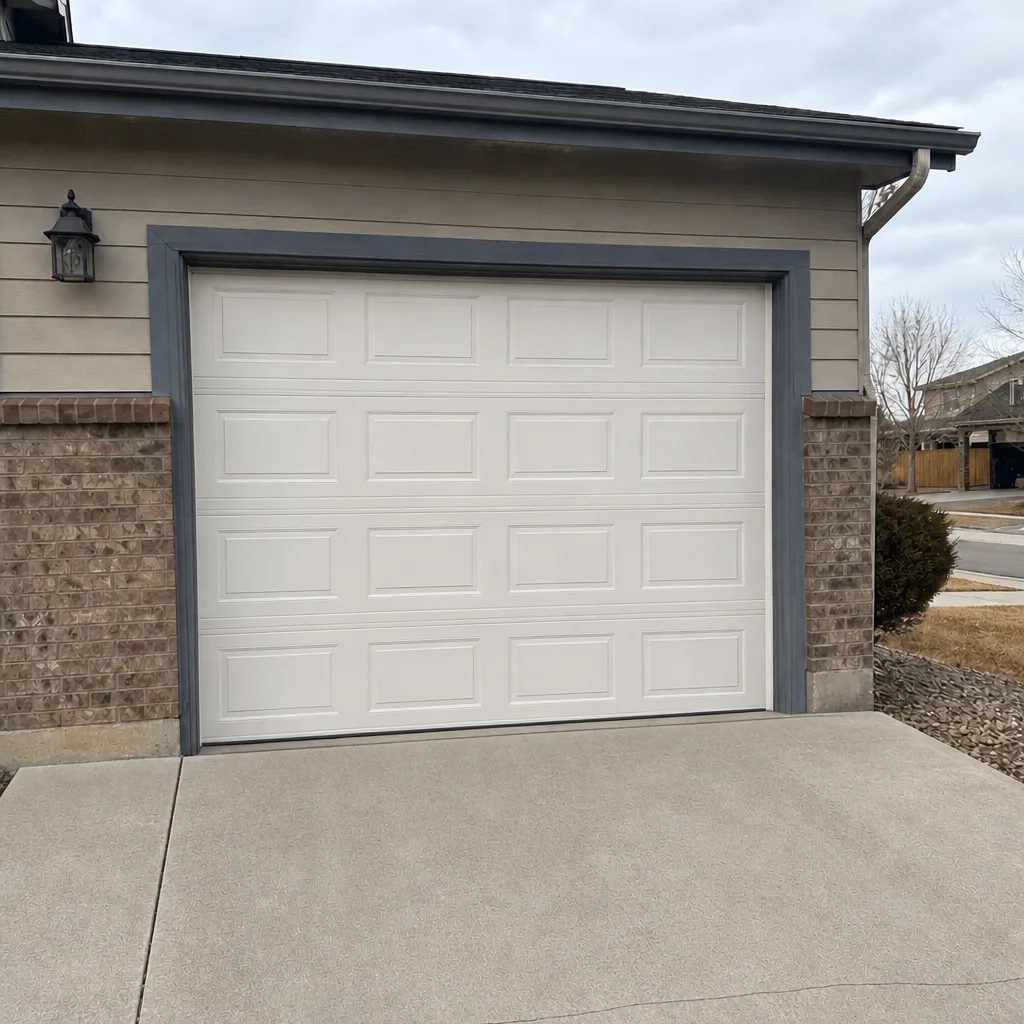 After
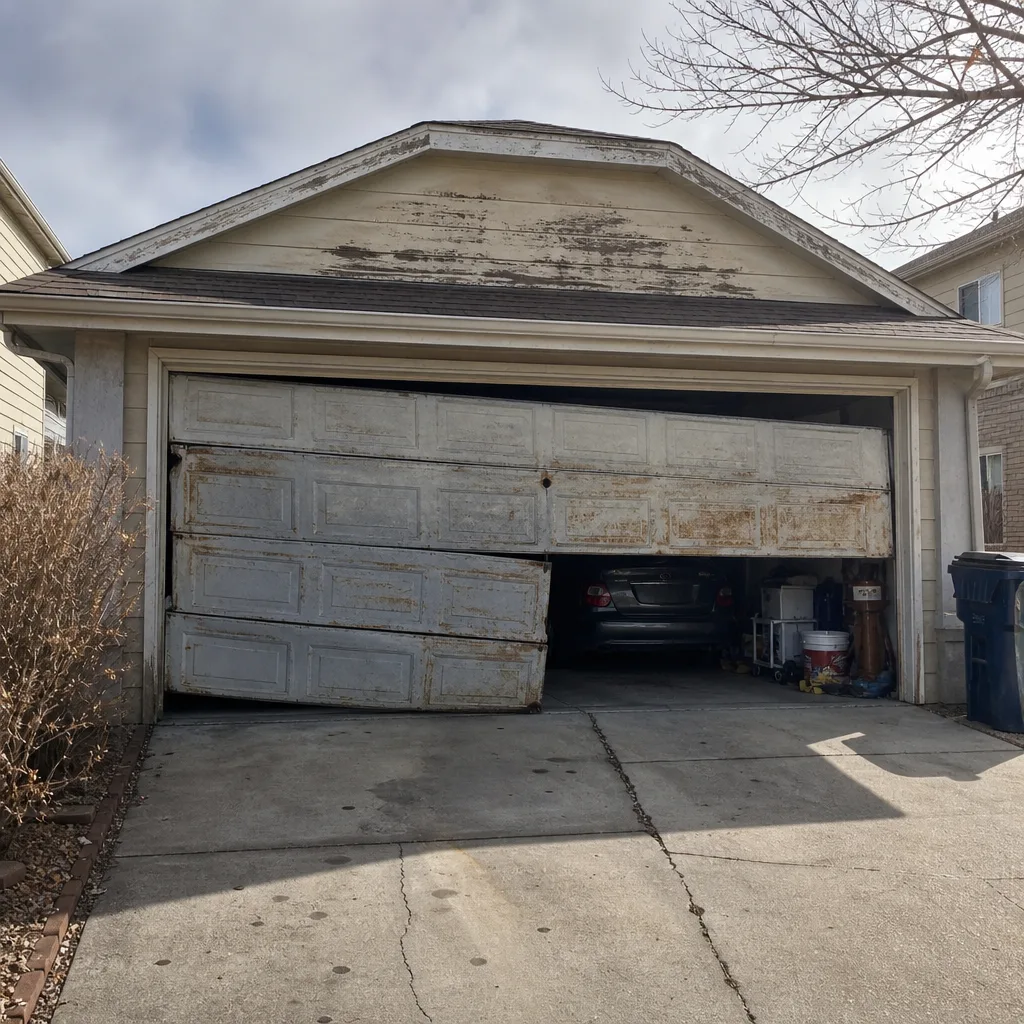 Before
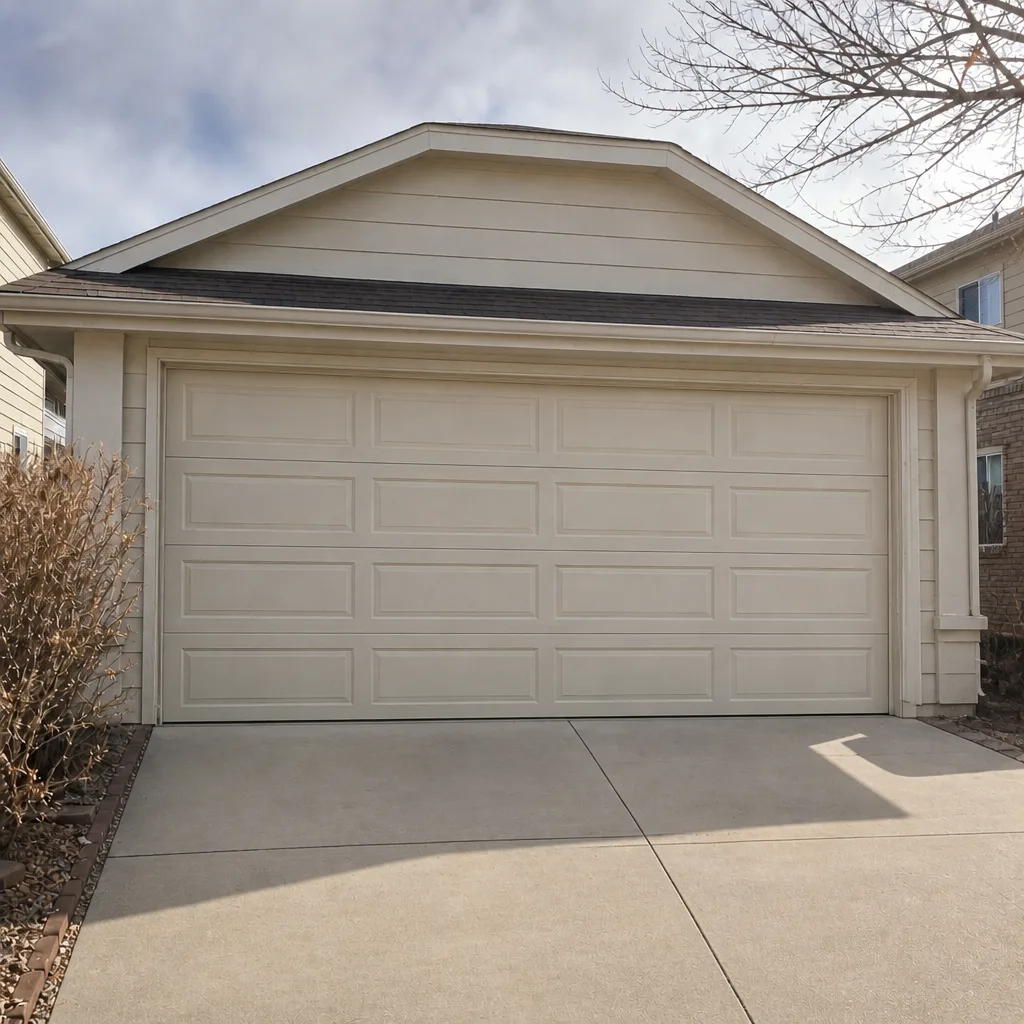 After
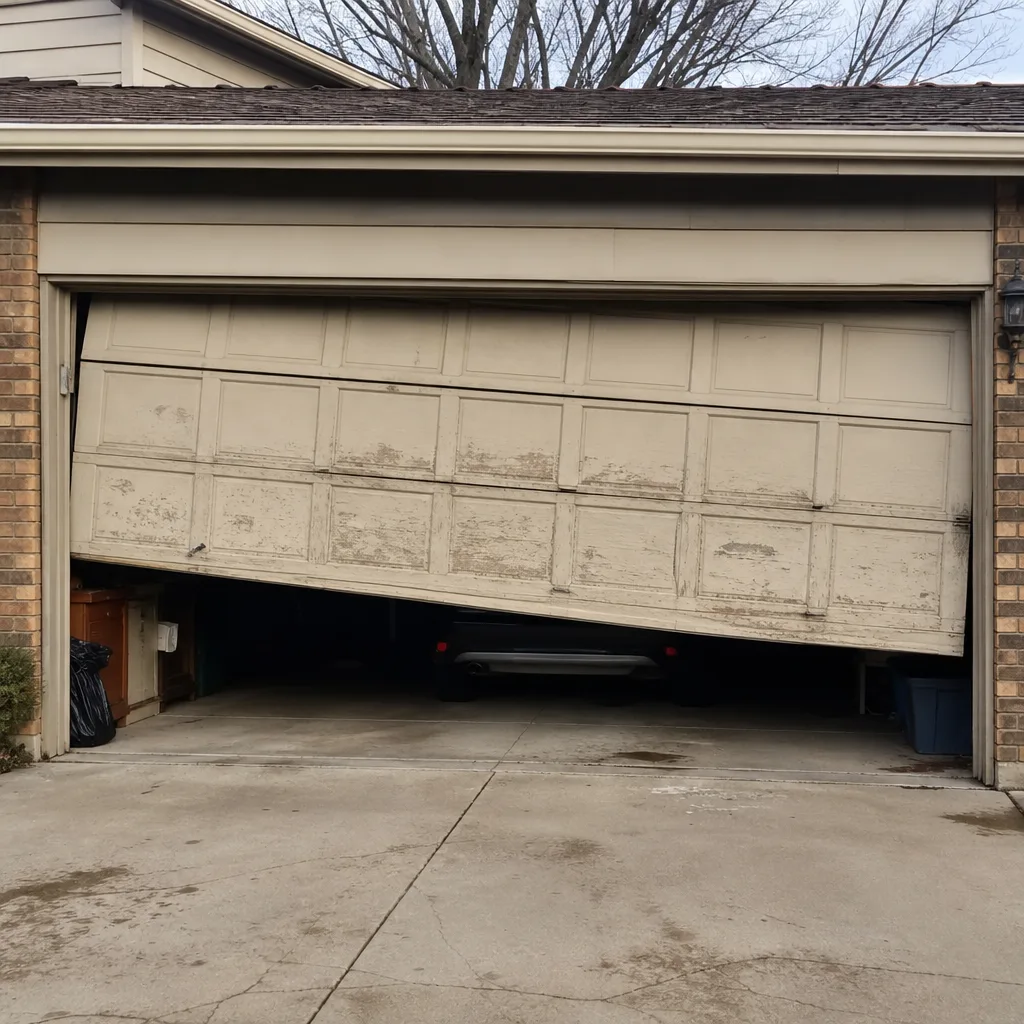 Before
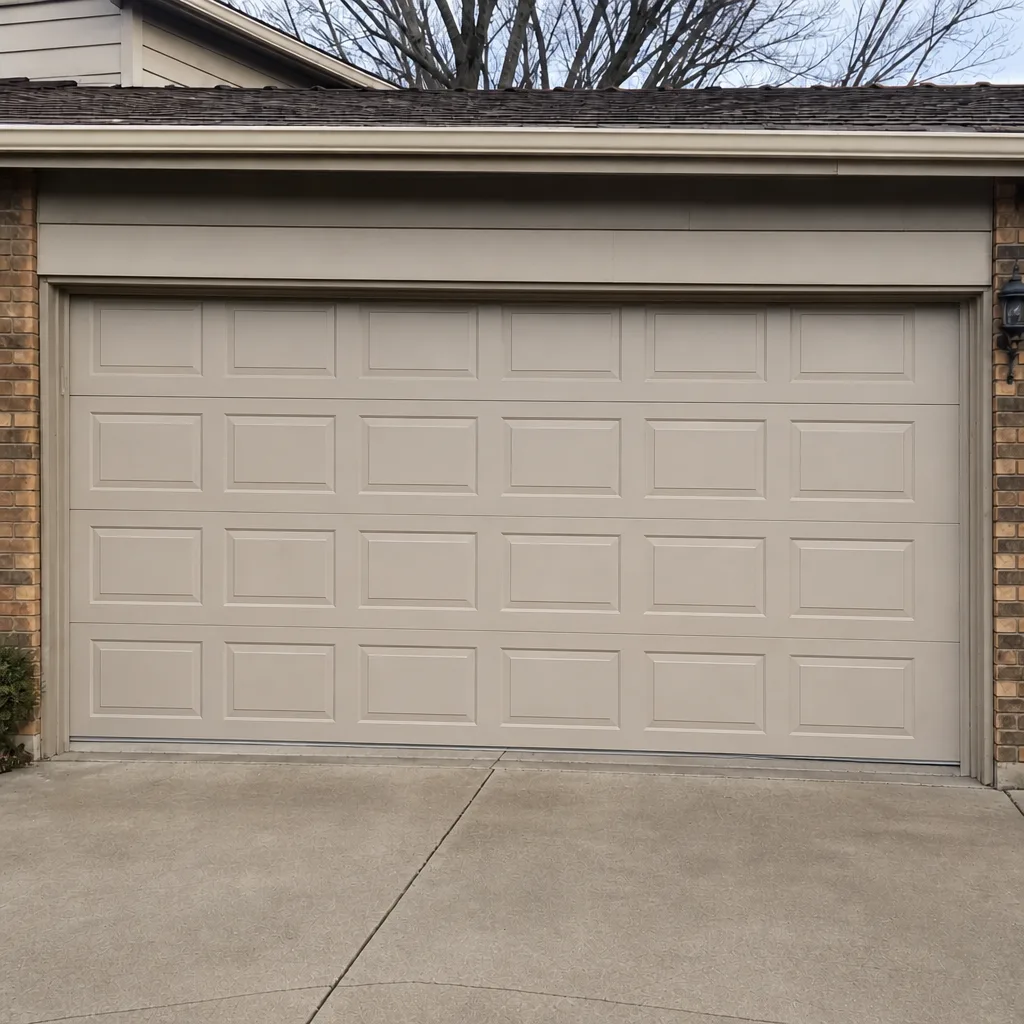 After
When to Call a Professional
Some repair work should never be a homeowner job: torsion spring replacement, cable replacement, torque adjustment, and any work on a door that won’t stay balanced. These components are under load, and a mistake can cause serious injury. Other situations deserve a call too – a door that reverses without obstruction after you’ve cleaned and aligned the sensors, a door that’s visibly out of balance, weatherstripping that’s failing along with hinges and rollers, or a door more than a decade old that’s started to sag. If you’ve had a repair done and the door still isn’t running smoothly, it’s worth a second look. Our technicians have up to 15 years of experience. Garage Door Repair Green Valley Ranch offers free estimates in Green Valley Ranch – call (855) 337-1312.
Frequently Asked Questions
Twice a year is usually right – once in fall before the first hard freeze, once after summer. The fall lubrication matters most because cold weather thickens grease and a dry spring is the most common cause of a winter failure. Our garage door repair team can also do a full lubrication and inspection during a routine visit.
A garage door spring lubricant or a silicone- or lithium-based spray. Never use WD-40 on torsion springs and never grease the coils – grease traps grit and the grit is what wears the spring out. For hinges, a light lithium grease works; tracks should be cleaned and left dry.
Yes, if the retainer is in good shape and the new seal matches the door brand and retainer slot. The seal is the easy part; the retainer and the fit are where most homeowners run into trouble. If the aluminum retainer is rusted, separated, or bent, hand the job to a pro.
The 10-second balance test tells you. With the door disconnected from the opener and lifted to the halfway point, a healthy door stays put. A door that sags to the floor has a tired spring. Other signs: a snap or bang when the door operates, visible gaps in the coil, or a door that’s become hard to lift by hand. Call for a free estimate and a professional opinion on whether the spring needs replacing.
A worn cable usually has a single broken strand, mild surface rust, or a cable slightly off the drum. A dangerous cable has several broken strands together, a kink, a slack cable, or a cable off the drum entirely. A worn cable should be replaced within 30 days; a dangerous one means stop using the door and call a professional today.
Look on a sticker inside the bottom panel or on the end stile. On the opener, look on the head for the brand and model. Most doors have a manufacturer label. If no label exists, photograph the hinges, seal, and opener head – a technician can usually identify the brand from the hardware.
We’re qualified to service and repair products from LiftMaster, Chamberlain, Genie, Clopay, Amarr, Wayne Dalton, Craftsman, and Raynor. We work on the door you already own rather than steering you toward a replacement you don’t need. Call (855) 337-1312 for a free estimate.
The Bottom Line
A garage door that’s maintained on the right schedule rarely fails without warning. The key moves for Green Valley Ranch homeowners: lubricate springs and hinges with the right product (not WD-40) before the first hard freeze, run the balance and drop tests twice a year, inspect cables and weatherstripping for the early signs of failure, and clean the tracks instead of greasing them. Twice-a-year checks catch the spring, cable, and seal problems while they’re still repairs rather than replacements. When something needs a trained eye – spring tension, cable wear, or an opener that’s reversing – call (855) 337-1312. We answer 24/7. Fast dispatch from 7am to 7pm, Sunday through Friday. Estimates are free, and the written estimate sets the final price before any work starts. Written by the team at Garage Door Repair Green Valley Ranch.